How to Capture System Sound in CANVID
Learn how to capture system sound in CANVID. Enable system audio recording on Windows or Mac to include all computer sounds in your screen recordings.

Lorenz Cruz
October 30, 2025
Learn how to capture system sound in CANVID. Enable system audio recording on Windows or Mac to include all computer sounds in your screen recordings.
In CANVID, you can record your screen with audio from various sources. This guide will show you how to allow the app to record the screen with computer audio on Windows or Mac.
Run the app, then select your preferred capture type: Window or Display.
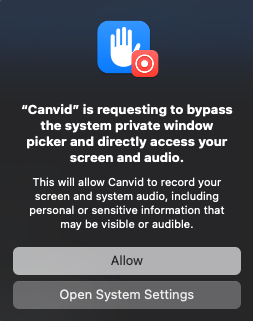
Note for Mac users:
The first time you use the app, you may see a system permission prompt asking to allow the app to record your screen and audio. Click Allow to enable recording.
In the Prerecording window, click the System Audio button located at the lower-right corner.

You’ll have two options:
Tip:
Before recording, play any audio or music on your computer. You should see an audio level meter move, which means CANVID is detecting your system audio correctly.