September 2025 Updates: Faster Cuts, Smarter Recording, Smoother Exports
Hey everyone, Gareth here with your September roundup. This month I want to take you behind the scenes of two releases that are all about momentum. Version 2.2.0 delivered bigger upgrades to recording and editing. Version 2.2.1 followed with refinements that remove friction in places you may not even notice until they quietly save your session.
Why the new S shortcut matters
There is a small thrill when an edit happens the moment you think it. Press S and the clip splits at the playhead. That single key is now the fastest way to slice out an um, isolate a mistake for cleanup, or create a quick cutaway. No tool juggling, no menu hunting, just a clean incision. If you are teaching, coding, or demoing software, that precision keeps your voice and your cursor in sync with your thoughts.
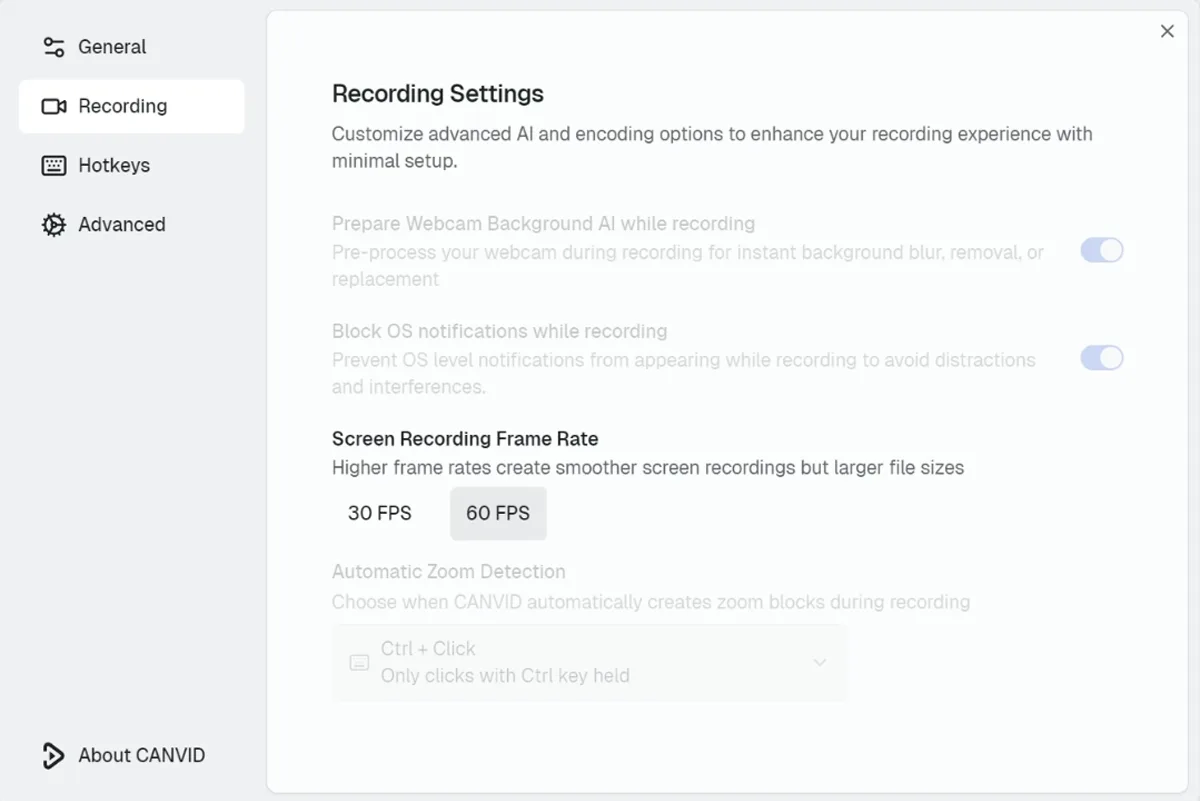
Recording at 30 or 60 fps, and when to pick each
You can now choose your recording frame rate in Recording Settings. 30 FPS is the practical default for most tutorials because it balances clarity and file size. 60 FPS shines when motion is the message. If your audience needs to follow fine cursor movements or watch smooth UI transitions, try 60 for a session and see how it changes the feel of your video. If you are on a tight laptop or recording very long sessions, stay with 30 to keep your system cool and your project lighter.
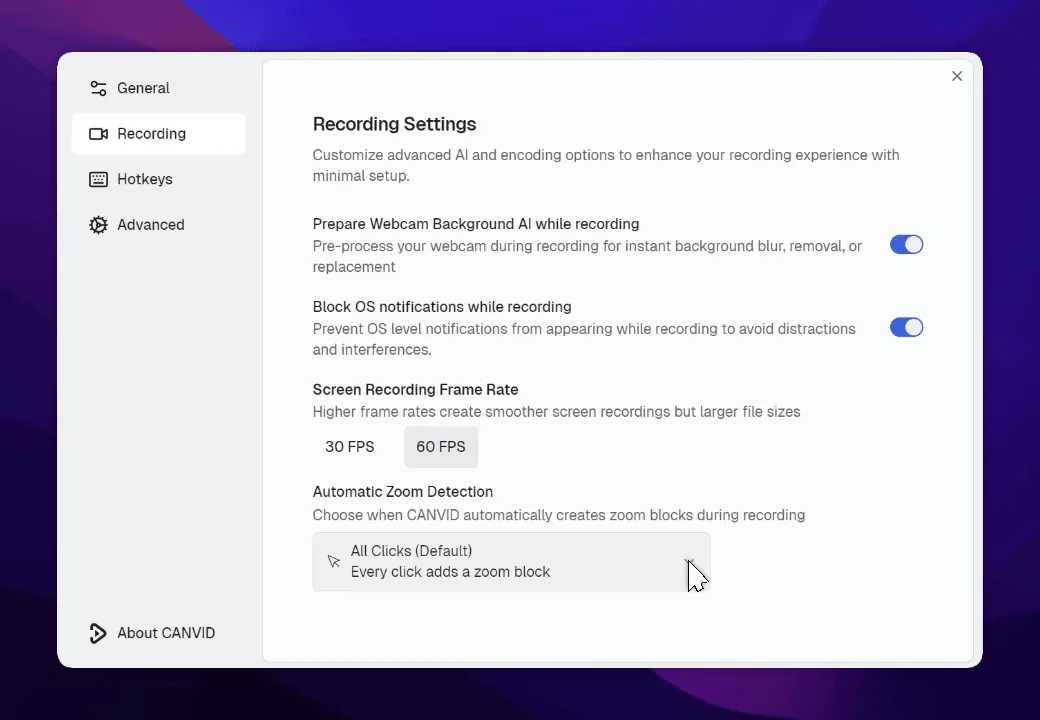
Zooms that listen to how you work
Zooms are now more customizable:
- Trigger on every click.
- Trigger only on long clicks.
- Or use Ctrl+Click for full control.
You can decide which clicks count. All clicks if you want every action to be highlighted. Long clicks if you prefer intentional emphasis. Ctrl + click if you want absolute control and zero noise. Better still, you can disable all zooms while you rough in the edit, then re-enable only the few that truly help the viewer. The result is a tighter story with fewer visual distractions.
Right clicking anywhere on a zoom now brings up the options you need. It is a small change that makes a big difference when you are editing dozens of focus points in a longer tutorial.
If you’d like to see more about how zooming works in CANVID, check out our auto and manual zoom features.
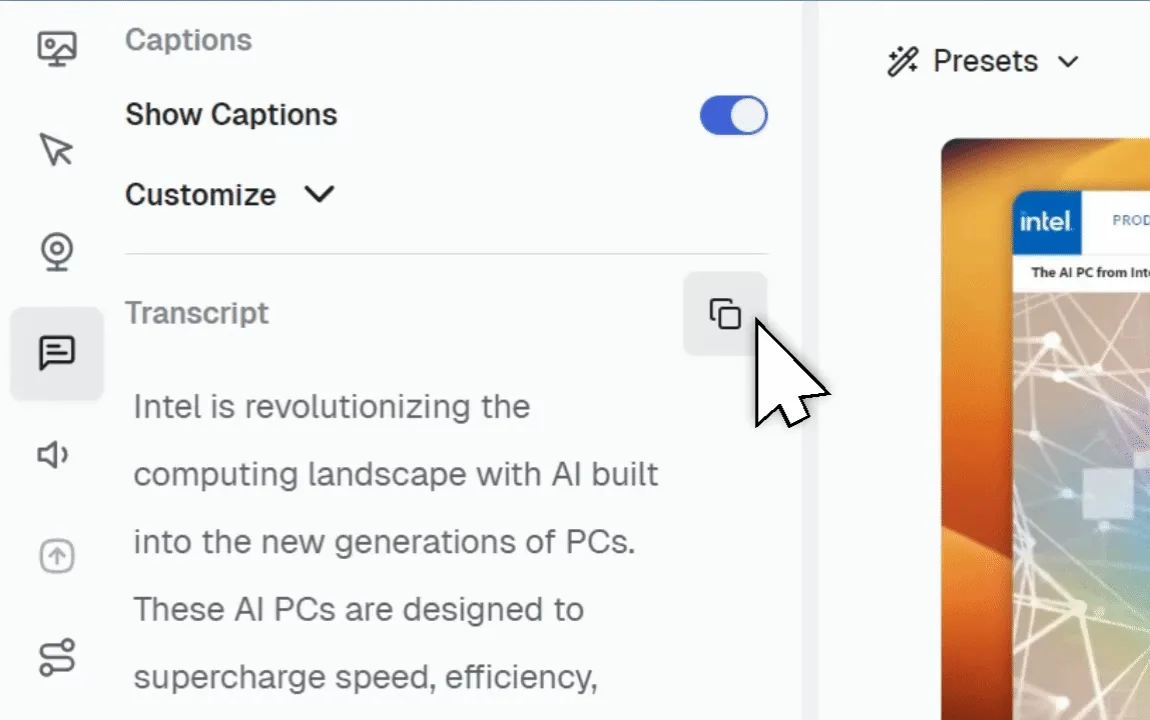
Transcript exports that match the cut
This is a favorite for teams that publish transcripts or captions. When you copy as Text or copy as SRT from the Transcript tab, the export now respects your timeline cuts. That means the words line up with the final video, not with the raw recording. If you share drafts for review or repurpose transcripts for docs, you will spend less time reconciling differences and more time shipping.
You can read more about our transcription feature if transcripts are a key part of your workflow.
Performance that steps aside when you do
When the editor is minimized, the app now uses fewer resources. On large projects that means quicker app switching and smoother multitasking while you check notes, grab assets, or run a build. We also reworked how big projects load so memory usage drops significantly. The impact is most obvious on long recordings and dense timelines. In simple terms, you can push bigger edits on the same hardware with fewer hiccups.
Smarter Mac permissions
Early versions requested blanket permissions during onboarding. That created noise for users who never record with a camera or microphone. The new approach is request-on-use. The app only asks when a feature actually needs access, which keeps the setup simple and focused.
Want the full details?
This post covers the highlights, but you can always find the full changelog here if you’d like to dig into every fix and improvement.
That’s September in a nutshell: faster cuts, smoother exports, smarter zooms, and a calmer editor when you step away.
If you’re new to CANVID, download the app and give it a try. And if you want to see what’s coming next, head over to our roadmap and upvote your must-have features.
How to Choose a Screen Recorder (Key Factors)
Choosing a screen recorder? Learn what matters most—quality, performance, audio, editing tools, and sharing—so you pick the right tool.
Understanding Presets in CANVID: Save Time and Ensure Consistency
Presets in CANVID save your recording and playback settings. Learn which options are stored and why using presets can improve your workflow.