Customizing Your Cursor in CANVID
Customize your cursor in CANVID with styles, click effects, and smooth animations. Learn how to enhance your screen recordings for a polished, professional look.

Customize your cursor in CANVID with styles, click effects, and smooth animations. Learn how to enhance your screen recordings for a polished, professional look.

The Cursor sidebar in the CANVID Editor offers a variety of customization options to match your content style and give your recordings a more polished, professional look.
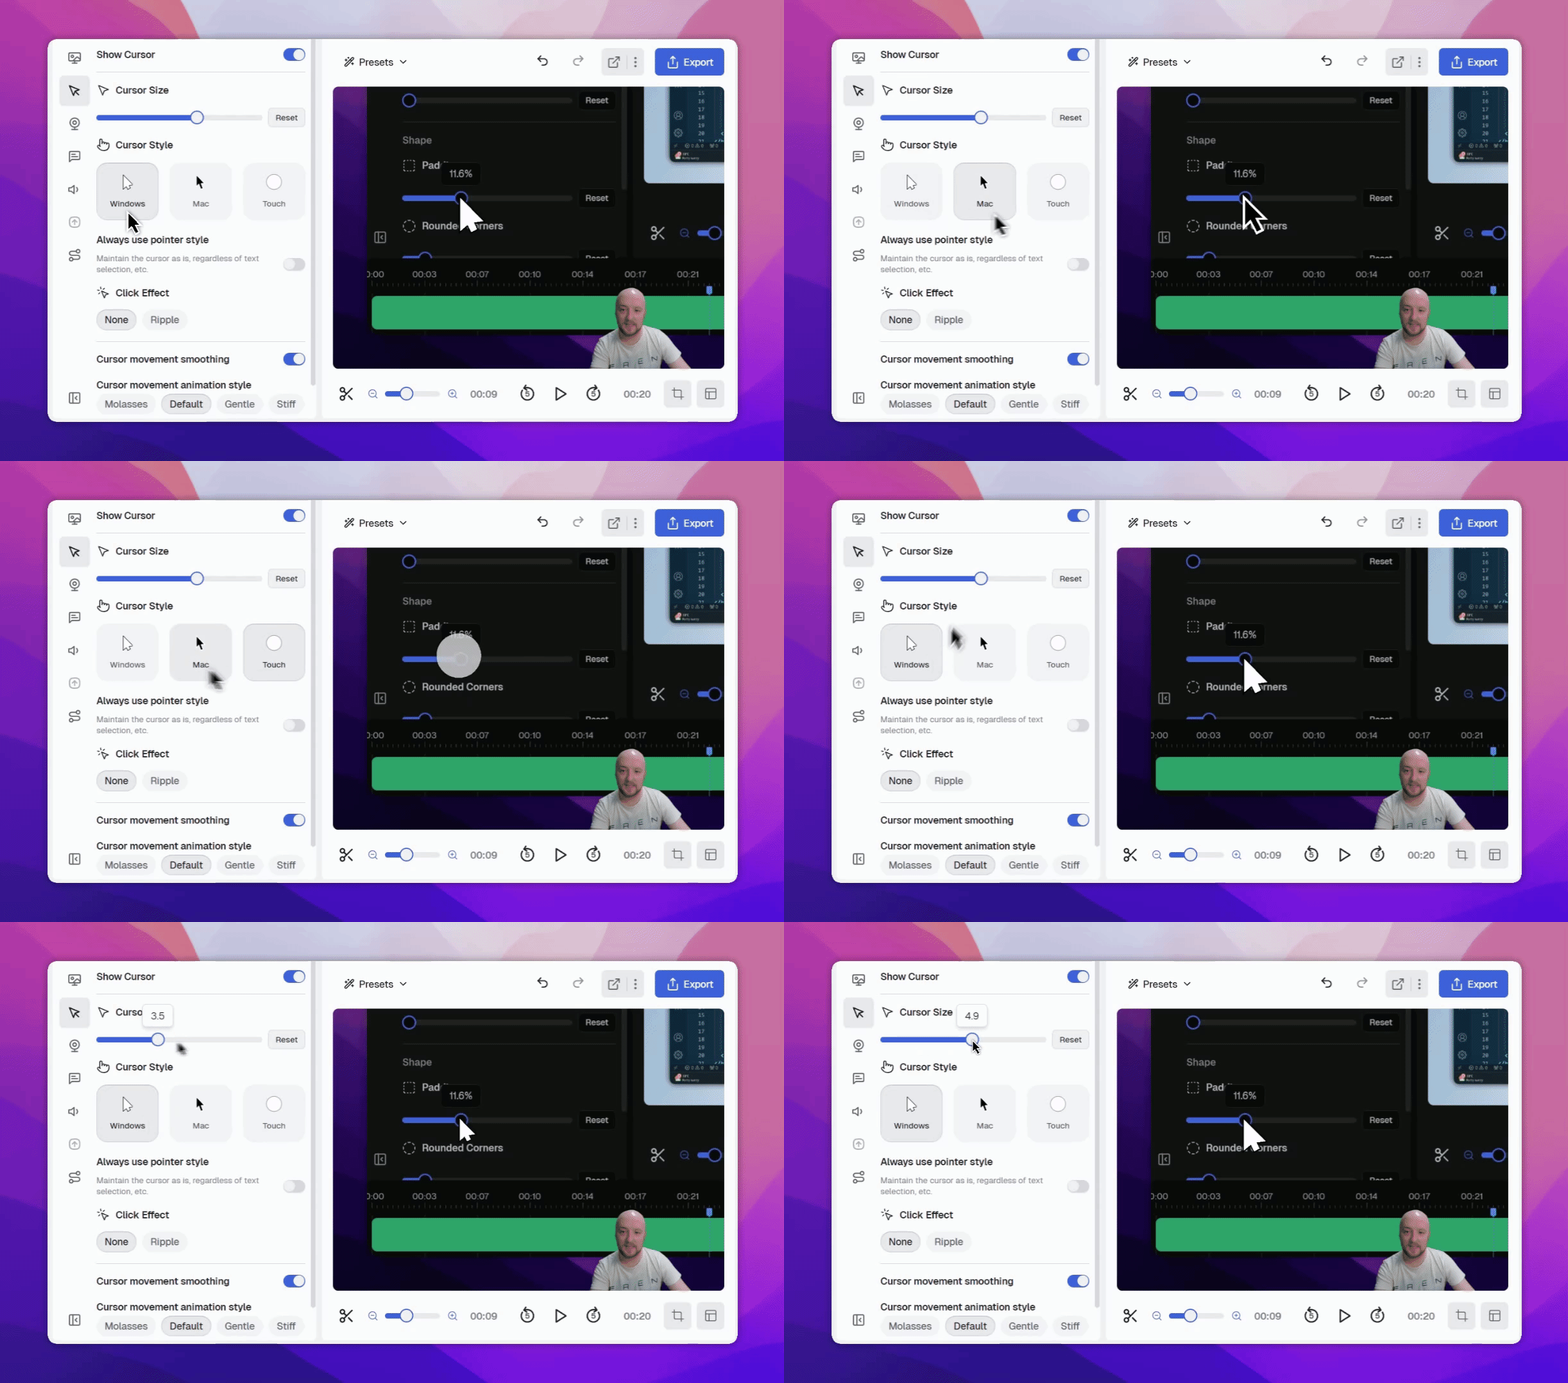
Makes the cursor visible in your screen recording.
Choose from three different cursor styles: Windows, Mac, or Touch.
Enable this to prevent the cursor from changing into other interactive elements such as hand pointers or text cursors.
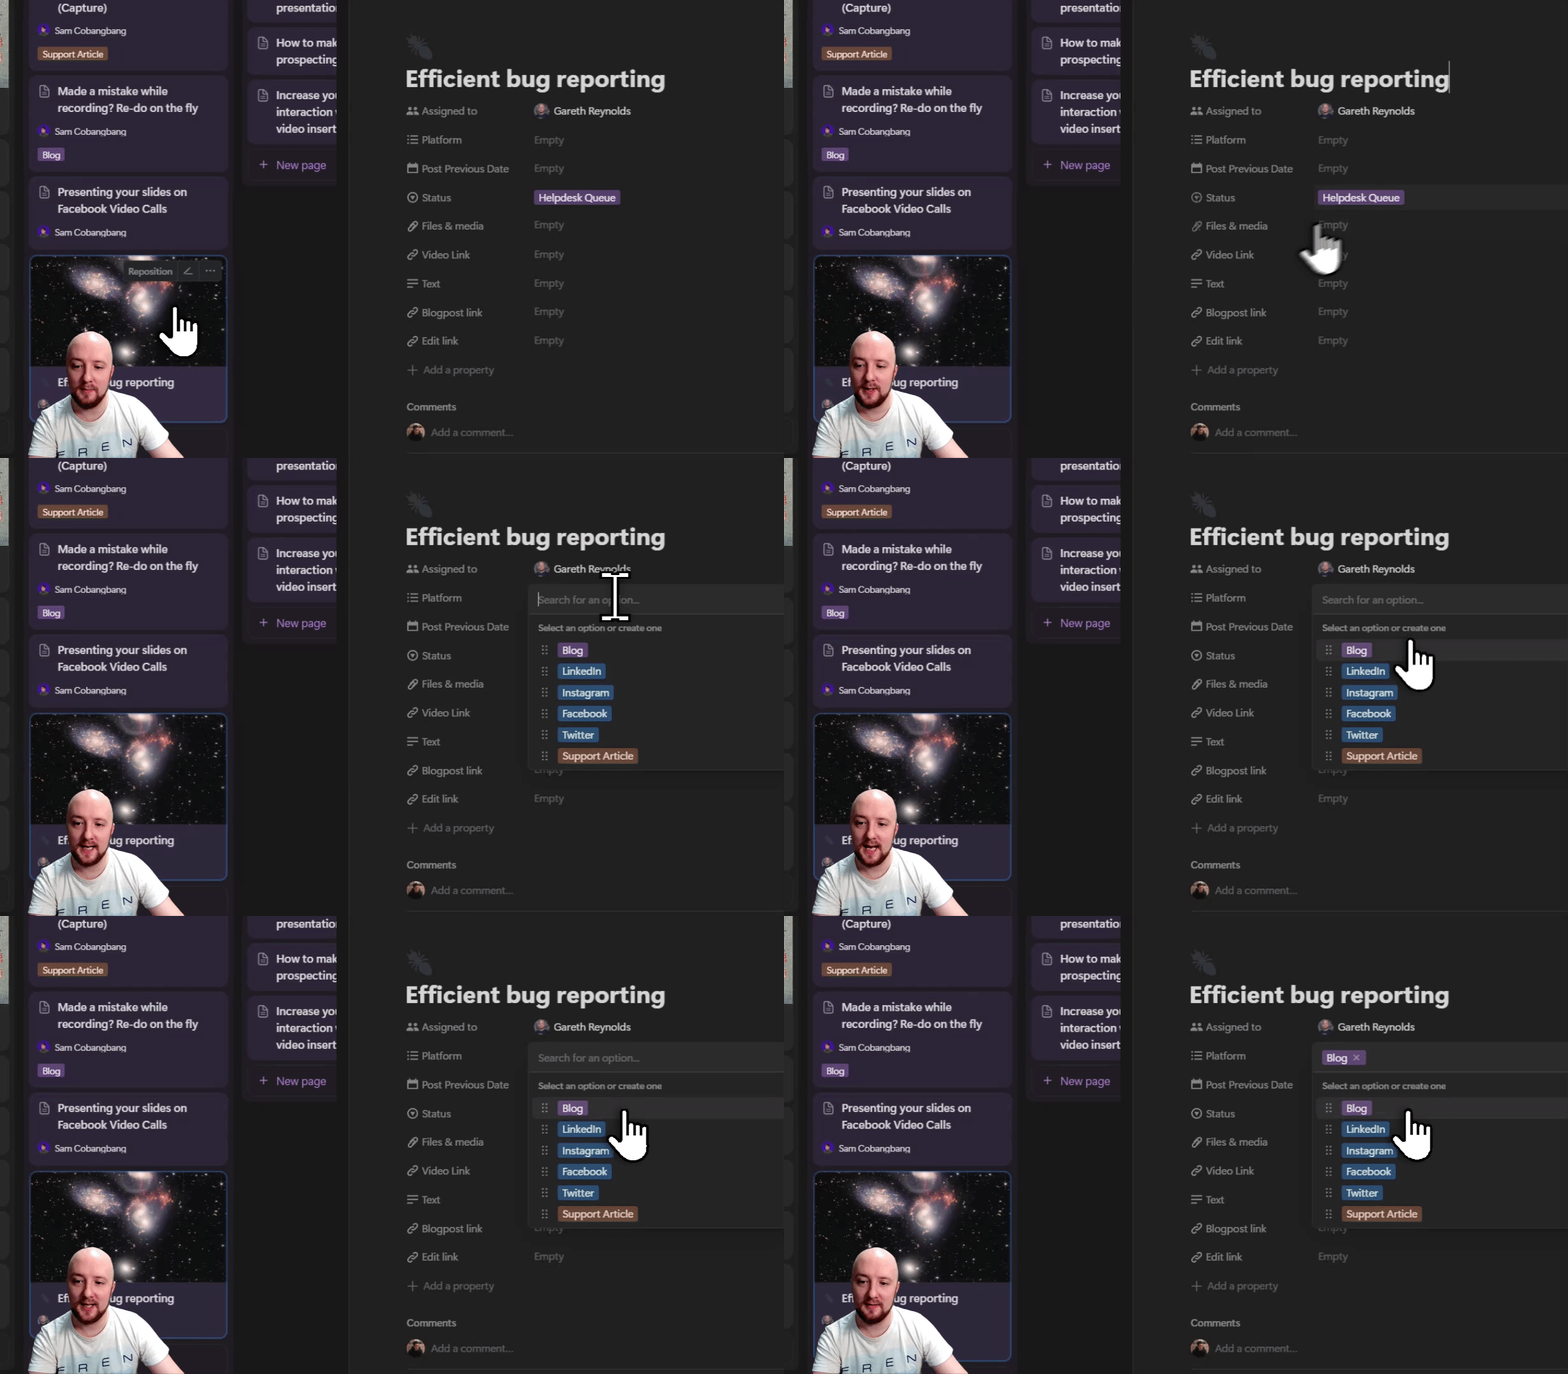
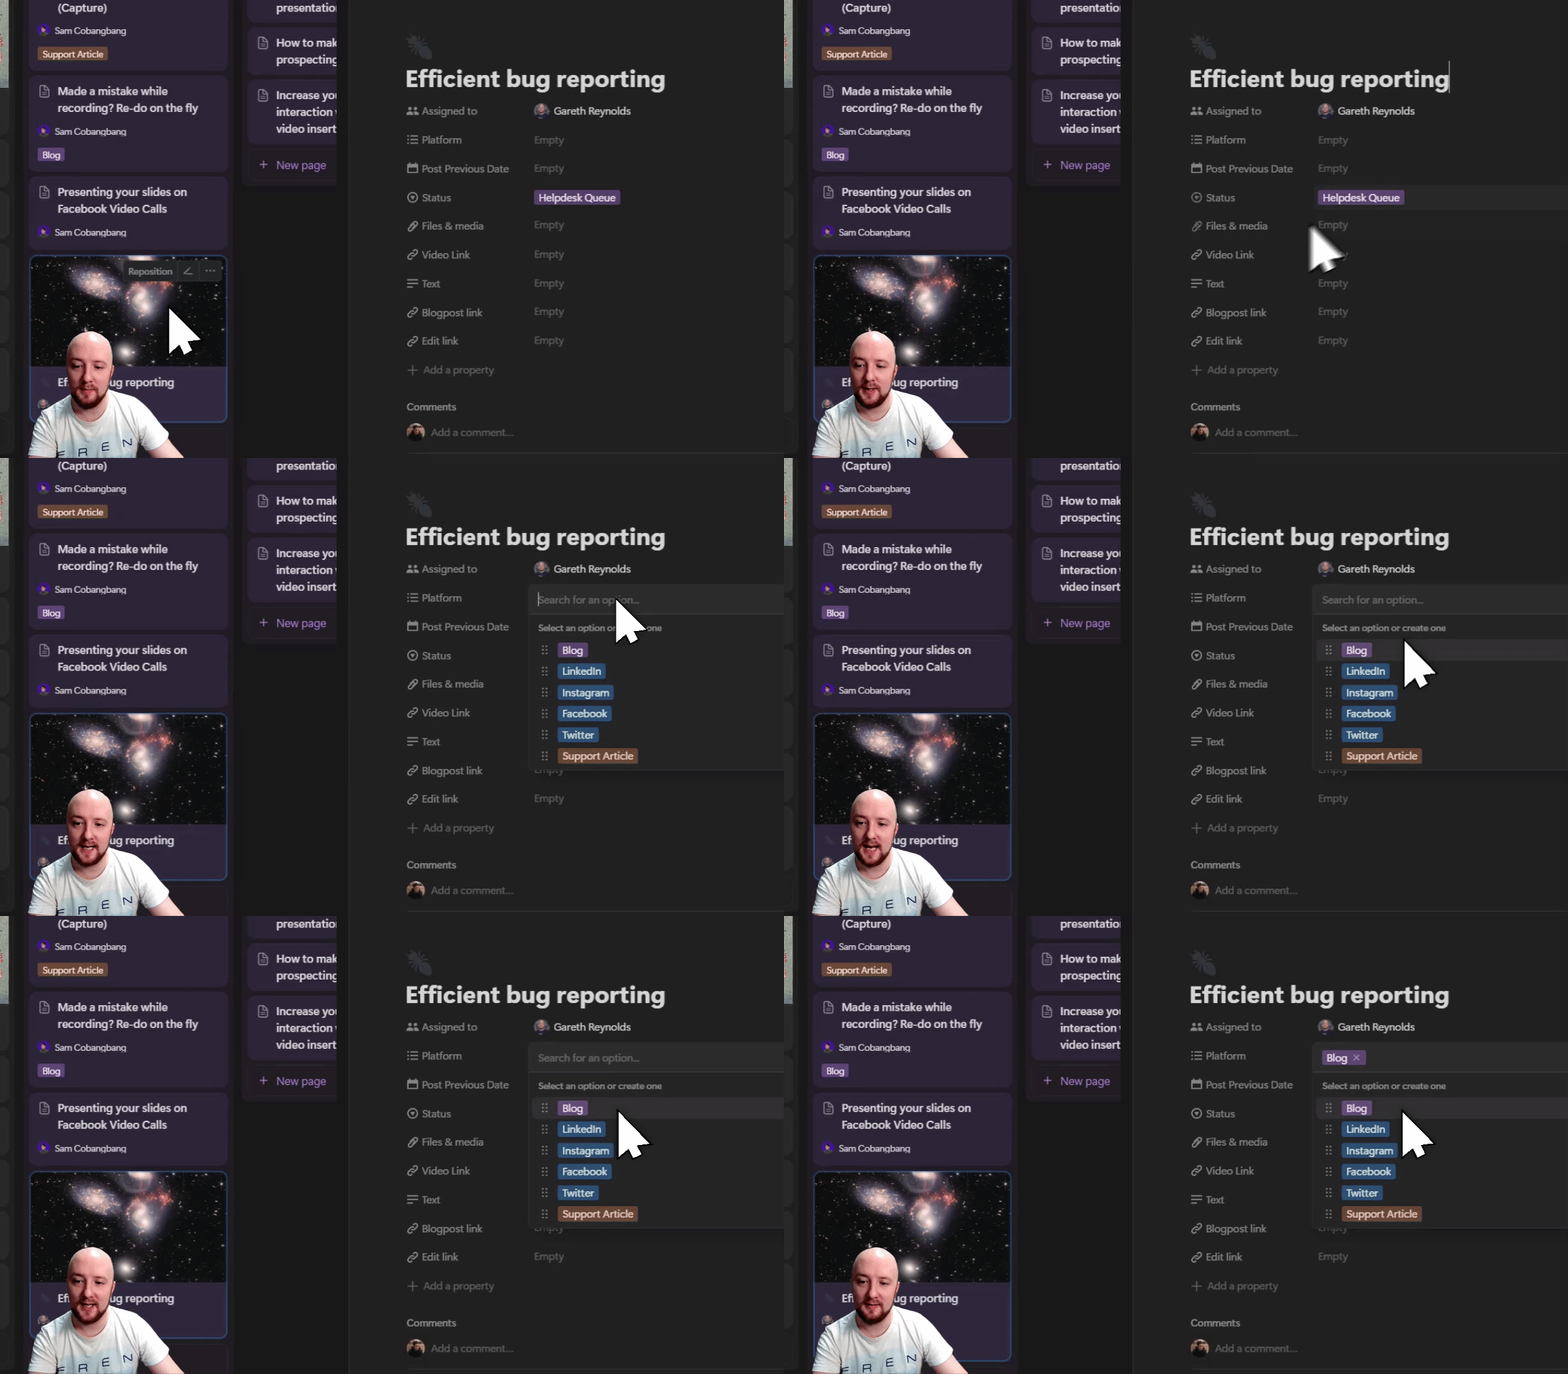
Add a visual Ripple effect to highlight mouse clicks.

Smooths the cursor’s path for a more natural, less jarring movement.
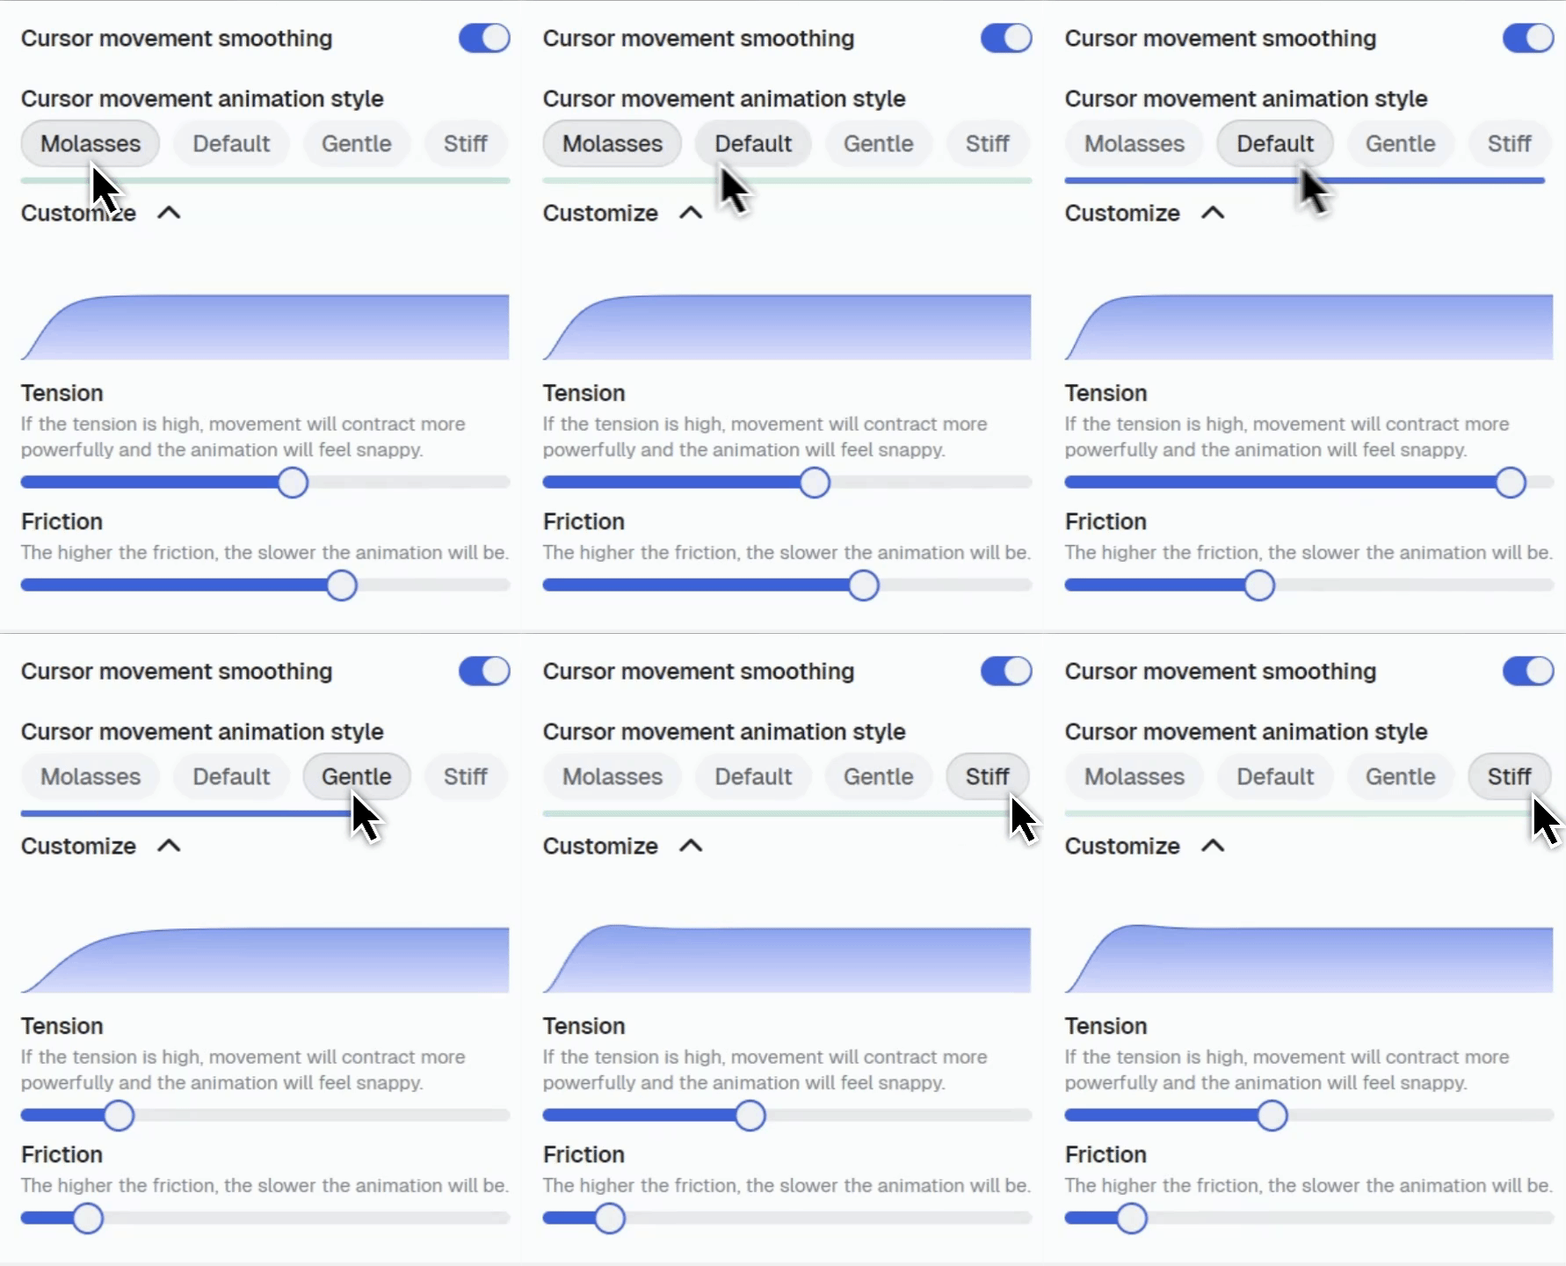
You can also fine-tune the smoothness by adjusting the Cursor Movement Animation properties. Choose from four presets or customize your own tension and friction levels for a perfectly tailored look.