Create Your First Video
Creating your first video in CANVID is straightforward. These steps will take you from choosing what to record to exporting or sharing the finished result.
Choose What to Record
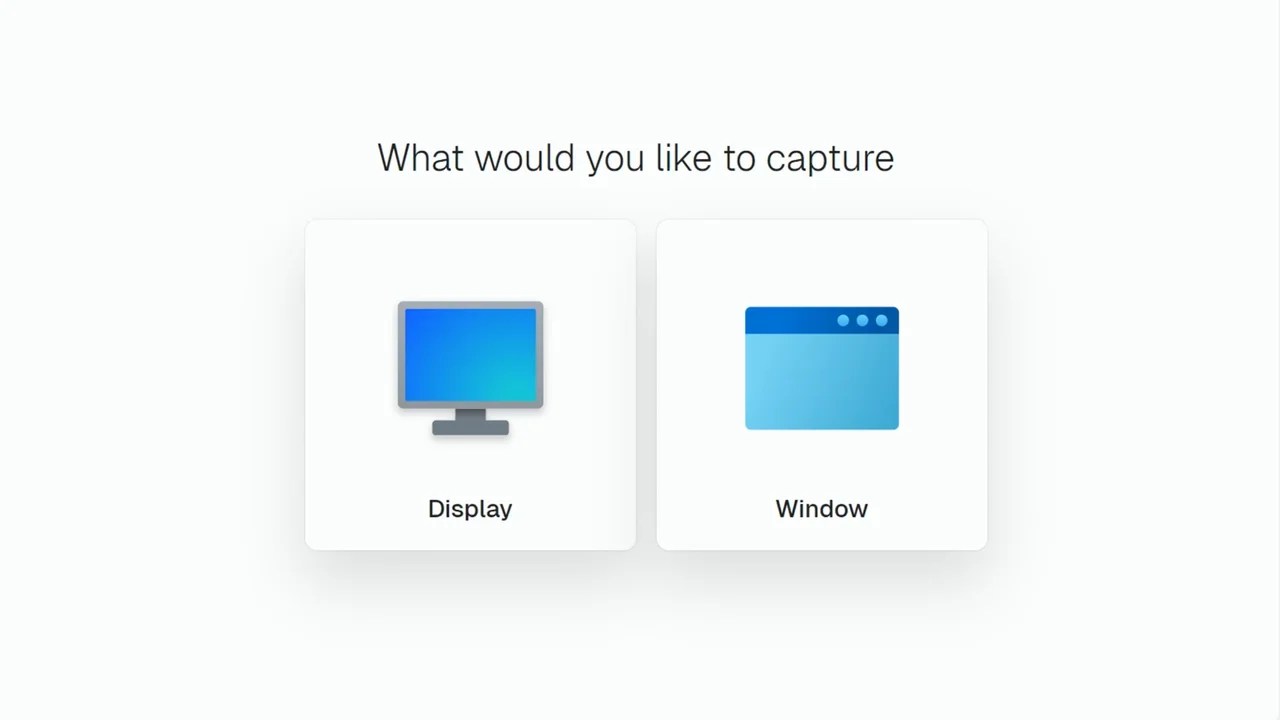
When the app opens, the first step is choosing what you want to capture:
- Display if you want to record your full screen
- Window if you want to record a specific app window
If you choose Window, the app will show you the windows that are currently available. If you choose Display and use more than one monitor, the app may ask which display you want to capture.
Pre-Recording Setup
After choosing what to capture, you'll move to the Pre-recording Screen.
This is where you do a quick check before you start recording. From here, you can:
- Preview what your recording will look like
- Choose whether to include your webcam
- Choose your microphone
- Choose whether to include system audio
- If capturing a window, you can resize your target window for cleaner framing
Start Recording
When everything looks right, click Record to start.
While recording, the app shows the Recording Bar so you can:
- Pause the recording
- Stop the recording
- Abort the recording and start over
- Keep an eye on the timer
Edit and Review in the Editor
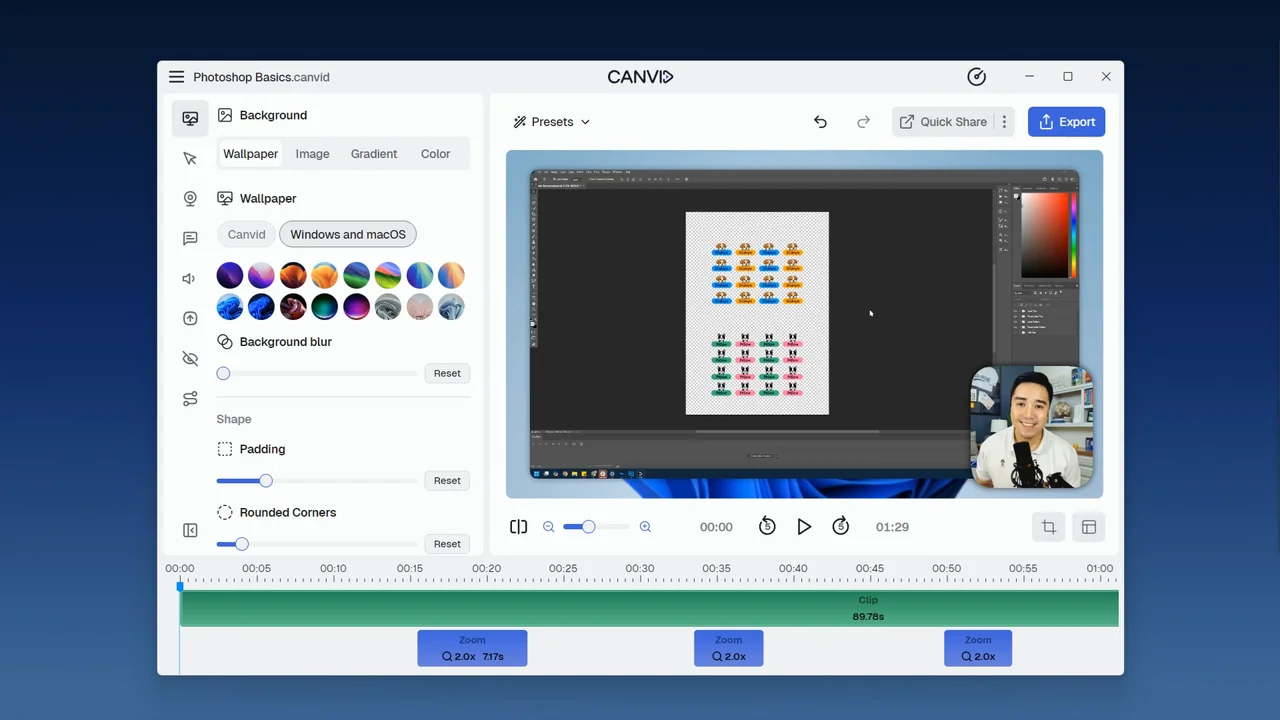
When you stop recording, the app opens the Editor. This is where you turn your raw recording into a polished video.
For your first video, the main thing to know is that the Editor lets you review the result and make changes before you export or share it. Most first-time users only need to review the recording, trim anything unwanted, and make a few quick polish changes.
You can adjust things like:
- Zooms
- Cursor styles
- Backgrounds
- Camera settings
- Transcription and Captions
- Keyboard Shortcuts Display
- Privacy Areas
- Audio adjustments
Export or Quick Share
Once you're happy with your project, you have two main ways to finish it:
Choose Export if you want a file saved to your computer. Choose Quick Share if you want the fastest path to a shareable link.
Export
Use Export when you want the app to create a video file from your project.
Depending on the format you choose, Export can create an MP4 or a GIF.
You can also choose settings such as resolution, frame rate, and quality. If you enable Create a Share Link during an MP4 export, The app can upload the finished video and generate a link at the same time.
Quick Share
Use Quick Share when you want the fastest way to generate a shareable link.
Quick Share is designed for speed:
- It uses export settings intended for fast sharing
- It uploads your video
- It gives you a share link when finished
You've now gone through the basic app workflow from recording to sharing your first video. When you're ready to go further, explore the rest of the support guides to learn more about editing tools, export settings, sharing options, and advanced features.